Setting up Thunderbird for UNI e-mail
Chris Conklin
Version 1.0
2/22/2005 4:22:44 PM
Creating a Profile:
1. click start ¢ all programs ¢ Mozilla Thunderbird ¢ Profile Manager
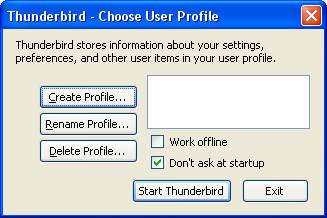
2. In the Create User Profile window click Create Profile
3. Click Next on the first create profile wizard page
4. Click the Choose Folder button
5. Expand out My Computer ¢ ōDocuments on Mercury U:ö
6. Click the Make New Folder button ¢ and name the folderThunderbird ¢ then click OK. You should then see:
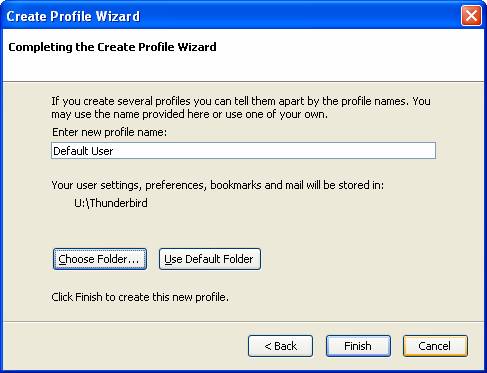
7. Click Finish.
8. Click Exit on the Thunderbird ¢ Choose your profilewindow.
9. Start Thunderbird by clicking start ¢ all programs ¢ Mozilla Thunderbird ¢ MozillaThunderbird.

10. Click Next on the New AccountSetup page after selecting ōemail accountö
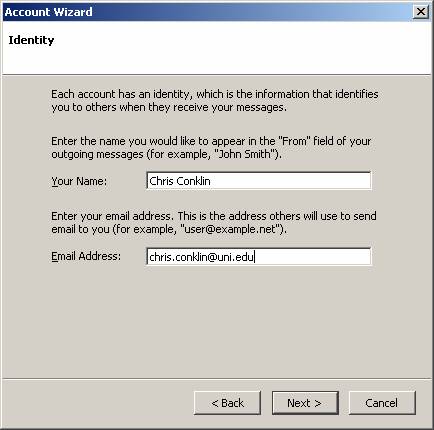
11. Fill in your name as you want it to appear to people yousend email to (you can include nicknames, professional titles, or whatever youwish to appear here).
Enter you email address as it was supplied to you by ITS (for faculty/staff this will be the form of firstname.lastname @uni.edu ). Click Next.
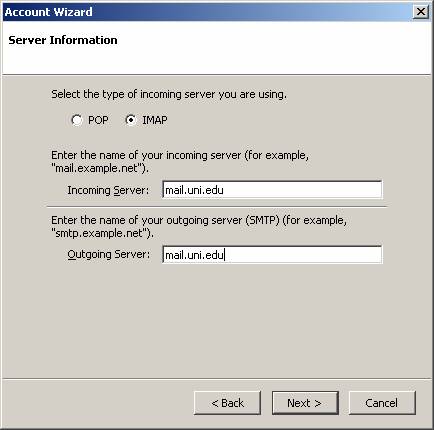
12. Click the Button to the left of IMAP. Entermail.uni.edu for both incoming and outgoing mail servers. Once yourscreen looks like the above picture, click Next.
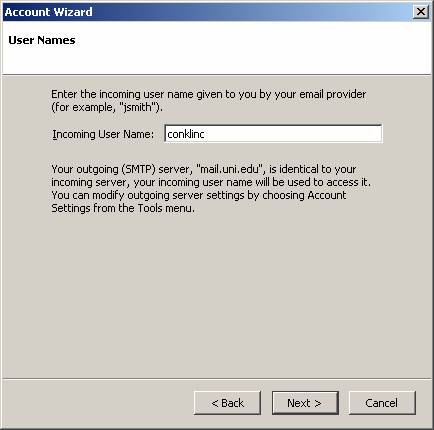
13. Change your Incoming user name to match the name you useto login to the mail system. Then click next.
14. On the Account Name page, simply click Next
15. You will have a ōCongratulations!ö page ¢ simply clickNext
16. If you want Windows to associate mail addresses withThunderbird click Yes. If you wish to continue using a different mail programclick No.
17. When prompted for your email login password clickcancel.
18. Click the Tools menu at the top - and go down to AccountSettings.
19. Go down to server settings under you mail address:

20. Mark the box for ōUse secure connections (SSL).ö
21. Click on ōCopies & Foldersö in the left column.

22. Change the æPlace a copy in ōsentö Folder on:Æ to LocalFolders. The default of youremail @uni.edu will use server space on theITS VMS mail server, meaning your will run out of quota allocationquicker. HOWEVER If you work from home and need to look at copies of sentmessages, you may wish to leave this as youremail @uni.edu
23. Click on Composition & Addressing.
24. Click the Edit Directories button after selecting to usea different LDAP server
25. Click the Add button.
26. Type in the ōnameö and ōhostnameö as shown above, clickOK.
27. Click The OK button on LDAPDirectory Server Window

28. Change the ōuse a different LDAP serverö pulldown to UNI Directory. You should have a screenas above. This will use the UNI LDAP directory to convert names that youtype to valid UNI email addresses (for example ¢ you would type John Smith ¢and it converts automatically to john.smith@uni.edu ¢ if that were his email address.
29. Click on the Outgoing server (SMTP) in the left column

30. Change the ōUse Secure Connectionö to ōSSLö
You are done! Click OK, click the button in the upperleft for ōGet Mailö